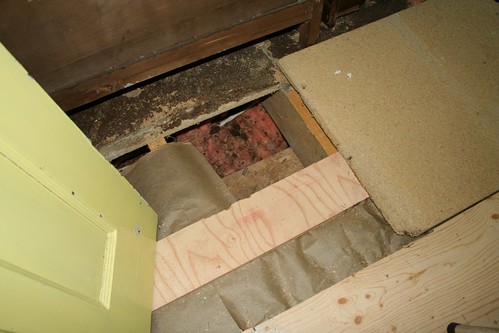
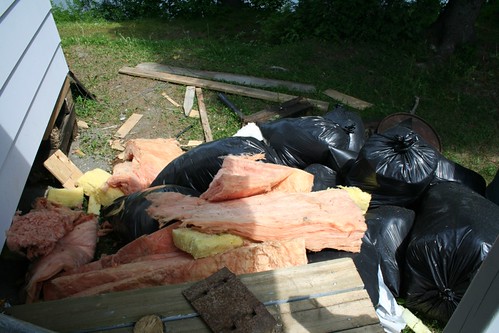
So we started doing just that - replacing the insulation in spots that were bare, vacuuming all the debris left behind, and adding a vapor-barrier on top. This was no easy task... but we were lucky that my Dad was visiting from Toronto for a few weeks (at my request, since we really needed his help here). Him and my husband tackled the floors, which was completed in less than 2 weeks. Hooray!
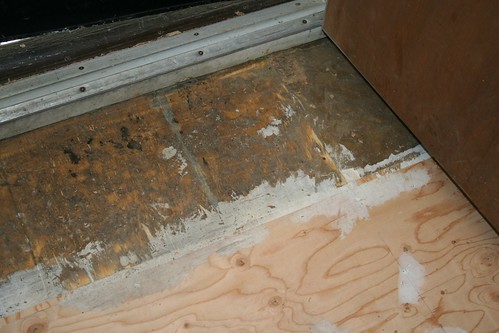
There! Now we're ready for some plywood! There are some areas where we just couldn't take out the particle board (for various reasons). Below is a photo showing the old next to the new:
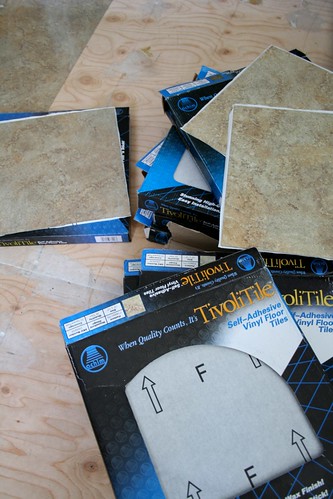
Now, my goal is to be able to move in by this Winter. I don't necessarily care right now if not everything is perfect or even pretty. I just want to move in. And seeing that I can't make up my mind on flooring, and we have renters arriving soon, I wanted something I could install easily and cheaply. I also wanted something thin so that I can put real wood on top of it, whenever I decide to.
We opted for peel-and-stick vinyl tiles. These things are AWESOME! I shopped around to find a pattern that was decent, but still within my cheap requirement. I found these beauties at the local Family Dollar. At $12 a box, they were a steal! So it cost me less than $300 to redo the entire building. Can you say BARGAIN!?
Seriously, in less than one day we had 2 rooms covered. Now that's progress! Here are the before/afters of both rooms:
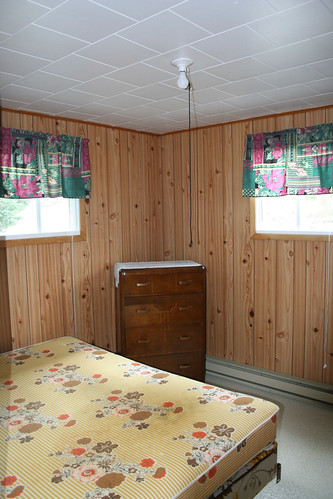
BEFORE - Storage Room
AFTER - Storage Room
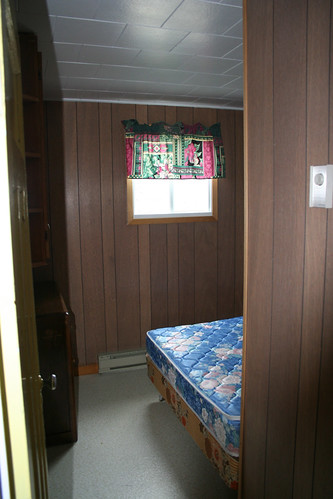
BEFORE - Office Space
(ignore the gross, stained mattress... it was there when we bought the place!)
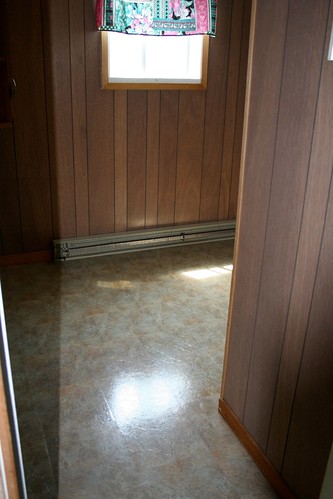
AFTER - Office Space
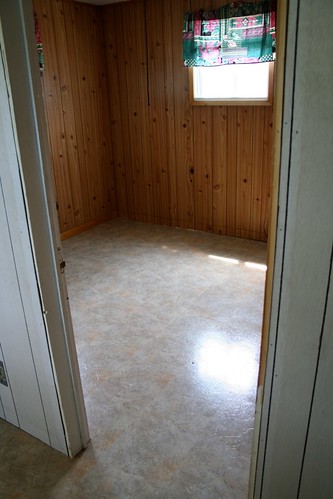
Now these before shots aren't terrible... the pattern of these rooms' floors weren't bad. The main room is a different story. Once that's replaced, it'll make a huge difference in there.
1 comment:
Post a Comment